

Create AWS Identity and Access Management(IAM) Policy for Specific S3 Bucket
Step through how to create an IAM policy that can target a specific AWS S3 bucket and limit access to all other resources in AWS


Amazon Web Services (AWS) have a huge range of online services that users can access, one of which is the AWS S3 storage service that can be used for a variety of storage services like a virtual hard drive or google drive.
AWS also has very specific permissions and access policies that can be applied to control who and what can access specific services and resources.
This is very helpful in examples where you have an app that stores it’s assets in an S3 bucket, but you don’t want that bucket to be publicly accessible, so only the specified app can access it. But at the same time, you don’t want the app to be able to view or edit any other buckets.
That’s where the IAM policies can come in and specify who and what can access them and we’ll go through how to make the policy and apply it to an aws s3 bucket.
Contents:
Prerequisites
This is assuming that you have an existing AWS account with admin privileges to manage IAM policies and logged into the.
If you don’t then you can follow the below link first and create an account:
Create an S3 Bucket
Before we progress any further we need to create an s3 bucket that we can connect to.
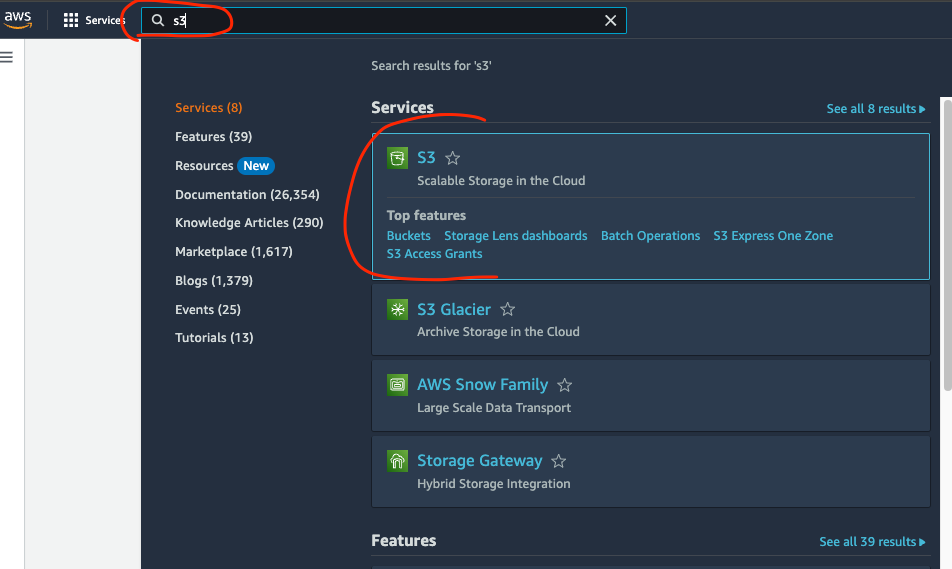
Select the search input at the top and type in s3, then select the s3 option in the dropdown

Then click on Create bucket

This will take you to the Create bucket form and all you really need to do at the moment is fill out the Bucket name with a unique name and then click on Create bucket at the bottom of the page, leave all others as defaults for now

This will create the bucket and take note of the AWS Region and the Name as various configurations and integrations will require this detail too.


Create a Policy
Now we’re going to create a policy that links directly to this new bucket we’ve created.
Search for iam in the search input at rthe top of the page and select the IAM option from the dropdown

Now in the IAM dashboard select Policies and then Create policy as we’ll be creating our own new policy for this

On the Create policy screen it will have the Visual editor open, we want to select the JSON editor, so select that and then we want to replace the content with the below code, make sure you replace the part bucket-name-here with the name of the bucket we created in the last section
This gives full management to only this specific s3 bucket only


{
  "Version": "2012-10-17",
  "Statement": [
      {
          "Sid": "VisualEditor0",
          "Effect": "Allow",
          "Action": "s3:*",
          "Resource": [
              "arn:aws:s3:::bucket-name-here",
              "arn:aws:s3:::bucket-name-here/*"
          ]
      }
  ]
}
Then click Next at the bottom of the screen to review the policy details
Add the Policy name and the description if you want and then click on Create policy at the bottom of the screen.
This will create your policy and you should be able to search it in the list of all the policies by it’s name that you provided.
Create IAM User Group
Now we’ll create a group with the policy attached to it.
Go back to the main IAM dashboard and select User groups and then we can select the Create group button
Here we can fill in the User group name but we can leave the add user to group section for now as we’ll create the user and attach them in the next section.
In the Attach permissions policies section, search for the policy we created earlier and select it by ticking the box next to the name. After that, click on create group

This should create your group and list it under the User groups section.

Create IAM User
We’re nearly there, here we’ll create the user and attach them to the group.
In the main IAM dashboard screen, select the Users tab on the menu to the left.
Then click on the Create user button
The next page will ask you to fill out the User name and then click Next, you can skip the rest on this first section for now.
On the next screen we set permissions which is where we can set the user policies and add them to the group. Under Permissions options make sure Add user to group is selected
Under the User groups you should be able to see the group we created before and the policies that are attached to it. Make sure you select the group by checking the box and then click on Next

Finally you can review your user details, the group attached and then click on Create user which will create the user and attach all the policies and link to the group


Create IAM User Access Credentials
Now for the final section, we need to attain the credentials so we can use this user within other applications so they can access the s3 bucket we have created securely without being able to access any other aws resource.
Go back to the main IAM dashboard, select Users and then select the name of the user we just created
This will take you to the user details and we can select the Security credentials option from the tabs

Scroll down to Access Keys and select Create access key
In the next menu for Use case, select the one that best suits your needs, in my situation I’m going to select Application running outside AWS and then click on the Next button
You can optionally add tags for the key, or just leave it and click on Create access key button
And finally, you will have the key displayed. Keep note of both of these or you can download them as a csv file to your local
There are 2 here:Access key - The visible reference key
Secret access key - This is hidden, but you can copy it or download it. Once this page goes away you will not be able to access this key again, it is required to be able to connect to this user and via the user access the s3 bucket within your apps - do not make this key publicly available

Conclusion
From this we have created an s3 bucket, created policies and user groups, as well as a user and access credentials for the user.
Now you should be able to use these credentials to securely access the specified s3 bucket only within your applications and not worry about other services or buckets being affected by this policy and user.