


Digitalocean Network Firewall
How to configure access to Droplets and Digitalocean resources through it's network firewall service

Digitalocean has a handy and easy to use Firewall service that allows specific control between Droplets and resources. So what is a Firewall? As per CISCO’s description:
A firewall is a network security device that monitors incoming and outgoing network traffic and decides whether to allow or block specific traffic based on a defined set of security rules.
In this post I’ll go through:
Where is the Firewall in Digitalocean
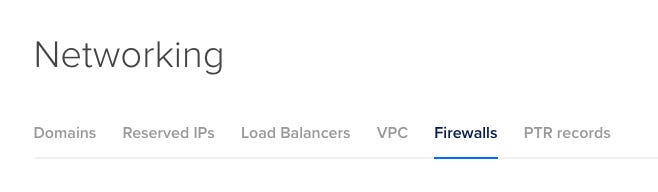
Assuming you have an account with Digitalocean and have logged in already, you can find the Firewall rules under the Networking section in the menu:

And from there, selecting the Firewalls option under the top menu presented:
The firewall allows for specifying which ports and services are able to run and access app and services like a normal firewall, however you can link the Droplets, Load Balancers, VPC’s, Kubernetes Clusters, tags or ip addresses to the rules by just searching the names.

This allows only specific resources to access the target and specifying the target that this applies to is as easy as attaching the droplet that the rule relates.
Creating a Firewall Rule
If you click on the Create Firewall button, it will take you to the default page with the initial default settings populated allowing all traffic through.
Here you can fill out the name for the firewall and all the default ports are open to all.
It’s broken up between Inbound Rules and Outbound Rules.
Inbound Rules - Controls all the traffic that runs into your Droplet
Outbound Rules - Controls all the traffic from your Droplet out to the internet
At the moment, only SSH is allowed to access the droplet, but the droplet can send out any traffic, as listed All IPv4 and All IPv6 meaning any ip address can access this.
In this example I’ll follow on from one of my previous Guides where we created a Microsoft SQL Server on a Digitalocean Droplet
In this example we have a port that is accessible for the database on 1433, without any firewall being applied to the droplet, this means that ANYONE can access it by entering <droplet-ip>:1433, but what if we don’t want that? which is quite likely.
What we can do is create an Inbound Rule that targets 1433 and only allow specific access from the droplet, in our case for the example we have a droplet called web-app that needs to access the data from the database.
Here we can add a Custom rule and set TCP to the port 1433, remove the all ipv4 and all ipv6 from the Sources and search for our droplet called web-app:


Now, this means only SSH can access the resources that this Firewall is attached to and the only other thing that can access it is the web-app within the Demo Project and it only has access to the resources through port 1433.
Now we have the rule applied so nothing can access the firewall resource apart from the droplet we want and ssh, we need to apply it to the resource/droplet.
At the bottom of the starter page, there is a Apply to Droplets section where you can select multiple droplets to have this same firewall apply to, we are only selecting 1.
Here we select our Docker Ubuntu droplet we created in a previous example which is the one that has our database running:


And now we select Create Firewall.
And this will create the new Firewall in the Firewalls section
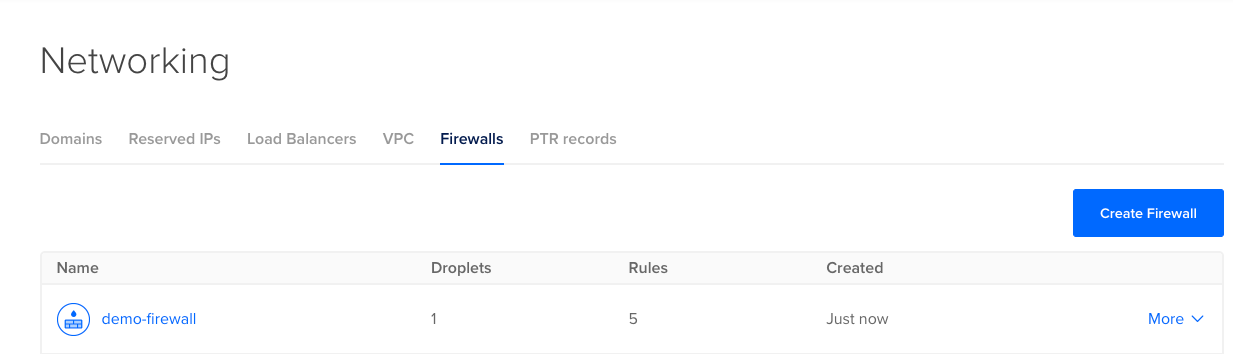
When clicking on the firewall name it takes you to the full details which you can edit at any time:

Editing the Firewall
With this firewall in particular, now that you have it setup like this, it’s only allowing you access to the resource droplet via the web-app, let’s say you want to access the resource from your local machine, you’ll need to add that to the inbound rules as well, so simply add your ip address to the sources section that you want to allow access to (this is a dummy example of an ip address):

Enter your ip address after you select Edit Rule and push enter or select Add from the dropdown and click save:

This will now have your ip address added to the rule to allow access to the droplet resource.
It also lists how many droplets it applies to and you can add or remove a droplet at any time by selecting the Droplets section at the top menu, you can add or remove any droplets that this rule applies to at any time and it activates the rule instantly.
*NOTE: if you have a droplet that is applied to a rule (either in sources or the droplet is linked to the firewall) if the droplet is destroyed and then you create another one, it is removed from the firewall and needs to be added back again.
Conclusion
The Digitalocean Firewall is very handy and easy to use in order to control and secure the resources you have in your projects. This allows for droplets and other services within the Digitalocean ecosystem to talk between each other securely without worrying out external factors.
You just need to keep in mind that when resources are destroyed, that you need to be mindful that they are removed from the firewall and need to be added back again… as I have missed that step a few times myself.